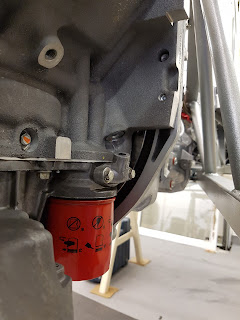
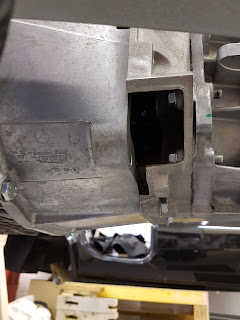
I remade one of the covers using more perforated sheet to provide some ventilation. I still have a cover to make on the N/S of the gearbox, and one around the starter motor. I have received the starter, so I'll bolt it in place and make a cover to suit.
I bought a mechanical speedo plug from Roadcraft UK, removed the shipping bung and fitted the new plug using a M6 x 16mm set screw.
GD427 MK IV

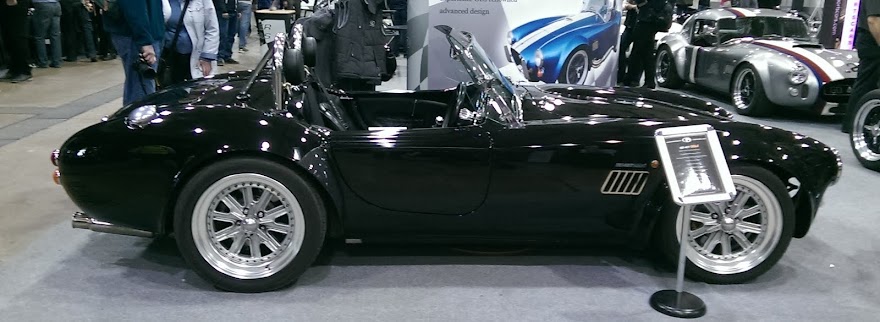
What my car should look like when finished - Stoneleigh 2015
Friday 29 July 2016
Thursday 21 July 2016
Another Flywheel Cover
When I told Andy at GD that I was making covers for the flywheel / gearbox, he said to me "Make sure you leave plenty of ventilation".
If you refer back to my previous post regarding the flywheel cover, I made an aluminium cover.
Rather than drill holes in the aluminium cover, I used it as a template to make one from perforated sheet instead.
If you refer back to my previous post regarding the flywheel cover, I made an aluminium cover.
Rather than drill holes in the aluminium cover, I used it as a template to make one from perforated sheet instead.
Just a couple more to do!
Monday 18 July 2016
Coil Packs Installed
I have fitted the coil packs to the rocker covers and connected up the spark plugs. For some reason, the mounting holes didn't quite line up and so I had to open out one of the holes on each frame. All done now and just waiting for the engine wiring loom to be fitted to complete.
Thursday 14 July 2016
Exhaust Manifolds
I bought my exhaust manifold gaskets from Monkfish Performance to fit my GD supplied exhaust manifolds. The gaskets can be found here.
I used stainless steel set screws with spring washers and washers to fit them.
I will have to modify my trestle supports to be able to fit the remaining underslung exhausts. Watch this space.
I used stainless steel set screws with spring washers and washers to fit them.
I will have to modify my trestle supports to be able to fit the remaining underslung exhausts. Watch this space.
Gearbox Connectors
I spent a bit of time trying to find the correct connectors for the Tremec T56 Magnum gearbox. I have managed to find them and I have detailed them below.
For the Vehicle Speed Sensor (VSS): Dorman 645-213. This comes complete as a pigtail connector and will require soldering in place. I bought mine through RockAuto from here, but there are other suppliers available.
For the Vehicle Speed Sensor (VSS): Dorman 645-213. This comes complete as a pigtail connector and will require soldering in place. I bought mine through RockAuto from here, but there are other suppliers available.
For the Reverse Light Switch: Delphi 12015792. I bought mine through SimtekUK from here
For the Reverse Lockout Solenoid: Delphi 12052646. I bought mine through SimtekUK. They don't list it on their website yet, but if you contact them they will supply.
Wednesday 13 July 2016
Flywheel Cover
I made an aluminium cover for the N/S of the engine / gearbox to cover the flywheel. Just used a folded piece of aluminium and cut / filed it to shape. It is fastened to the block using a M6 set screw and spring washer / washer.
Thursday 7 July 2016
Gearbox Bellhousing Openings
The bellhousing between the engine and gearbox has a few openings in it. This must be a somewhat universal bellhousing, since there are openings for a mechanical clutch fork on both sides. I can also see the flywheel on the N/S. I am waiting for a starter to come, so I am not sure if there is a gap on the O/S. Covers need to be put in place to prevent stones and debris coming in contact with the flywheel and clutch.
I am going to use aluminium to make up covers. I have made up one so far, and have fixed it to the gearbox by drilling and tapping out for M4 button head screws. I used a hoover to keep down on swarf. I have started with the easy one, and the others will require a little more sculpting..
I am going to use aluminium to make up covers. I have made up one so far, and have fixed it to the gearbox by drilling and tapping out for M4 button head screws. I used a hoover to keep down on swarf. I have started with the easy one, and the others will require a little more sculpting..
Radiator Cooling Fan
I have fitted the cooling fan to the aluminium radiator using the supplied stainless steel brackets. This involved carefully drilling small holes into the aluminium frame and I used M4 stainless button head screws and nylock nuts. The fan is a single 16" which I was told by GD that this had more flow than the twin fan option.
I am not 100% sure of the direction of flow yet, I will only find out when I connect in the wiring loom.
I will mount the radiator to the chassis once the heater pipework has been fitted to give me some room. I am waiting on parts coming from GD, and I am going to attempt to make up my own heater pipes using stainless tubing and silicone hoses. I will keep you posted.
Front Suspension
After I set the bump steer, I re-fitted the front shock absorbers and loosely bolted them up in position. I still have to fully tighten the track rod ends. I packed them with washers just to save the nylock nuts just in case I had to take them off again while checking the front toe.
Bump Steer
I have had a few weeks holiday in Cornwall and so have had little progress on the GD. Also with the good weather I have been working out in the garden doing all the things that need doing.
To set the steering rack, I bought a Longacre Bump Steer gauge. I managed to get it set up even with my chassis up on trestles and it seemed to work pretty well. I managed to tweak the height of the rack to minimise the amount of bump steer. This will have to be re-done once the car is complete so it has been left in the ball park. I have attached a graph which interestingly shows how much the bump steer moves. Each line is a difference of 2mm height. I have left it where the line is closest to the horizontal.
To set the steering rack, I bought a Longacre Bump Steer gauge. I managed to get it set up even with my chassis up on trestles and it seemed to work pretty well. I managed to tweak the height of the rack to minimise the amount of bump steer. This will have to be re-done once the car is complete so it has been left in the ball park. I have attached a graph which interestingly shows how much the bump steer moves. Each line is a difference of 2mm height. I have left it where the line is closest to the horizontal.
Subscribe to:
Posts (Atom)


